
TL;DR:
- A pinball restoration checklist guides hobbyists through systematic maintenance, repair, and parts replacement to keep machines in top condition. Regular weekly, monthly, and yearly tasks prevent deterioration, address mechanical and electrical issues, and preserve a machine’s value and playability. Proper documentation and careful preservation practices help maintain historical integrity while ensuring reliable performance for years.
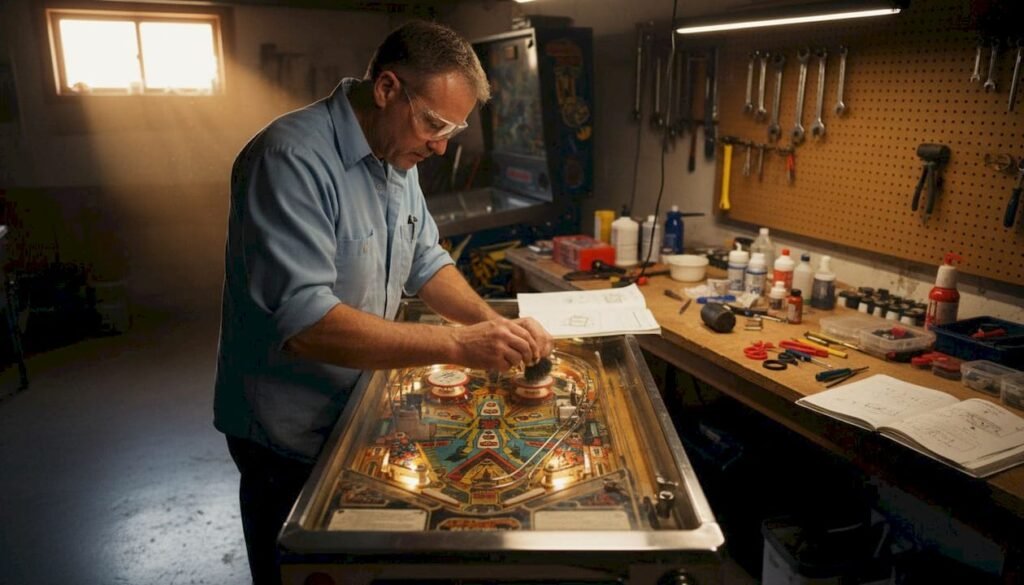
A pinball restoration checklist is a step-by-step framework that guides hobbyists through reviving and maintaining a pinball machine to optimal condition by combining systematic inspections, cleaning, repairs, and parts replacement. Whether you own a classic Addams Family, an Attack From Mars, or a modern Ghostbusters machine, a structured approach separates a machine that plays like new from one that slowly deteriorates. The industry standard for pinball machine restoration divides tasks into weekly, monthly, and yearly tiers, each targeting a different layer of mechanical, electrical, and cosmetic health. Skipping any tier accelerates wear and drives up repair costs over time.
1. What are the essential weekly maintenance tasks?
Weekly maintenance tasks focus on flippers, bumpers, and switches to preserve responsive gameplay and catch early wear before it compounds. These checks take under 30 minutes and prevent the kind of gradual degradation that hobbyists often mistake for normal aging.
- Flipper responsiveness: Press each flipper and feel for lag, weakness, or inconsistent snap. A sluggish flipper signals a worn coil sleeve or dirty plunger link.
- Bumper and switch function: Trigger each pop bumper and slingshot manually. They should fire instantly and reset cleanly.
- Playfield surface scan: Look for debris, loose screws, or cracked plastics. Even small fragments can jam mechanisms or scratch the playfield.
- Moving parts lubrication: Apply a light, non-silicone lubricant to flipper shafts and mechanical linkages. Over-lubrication attracts dust and creates grime buildup.
- Ball inspection: Check each pinball for pits, rust, or flat spots. A damaged ball scratches the playfield and throws off shot accuracy.
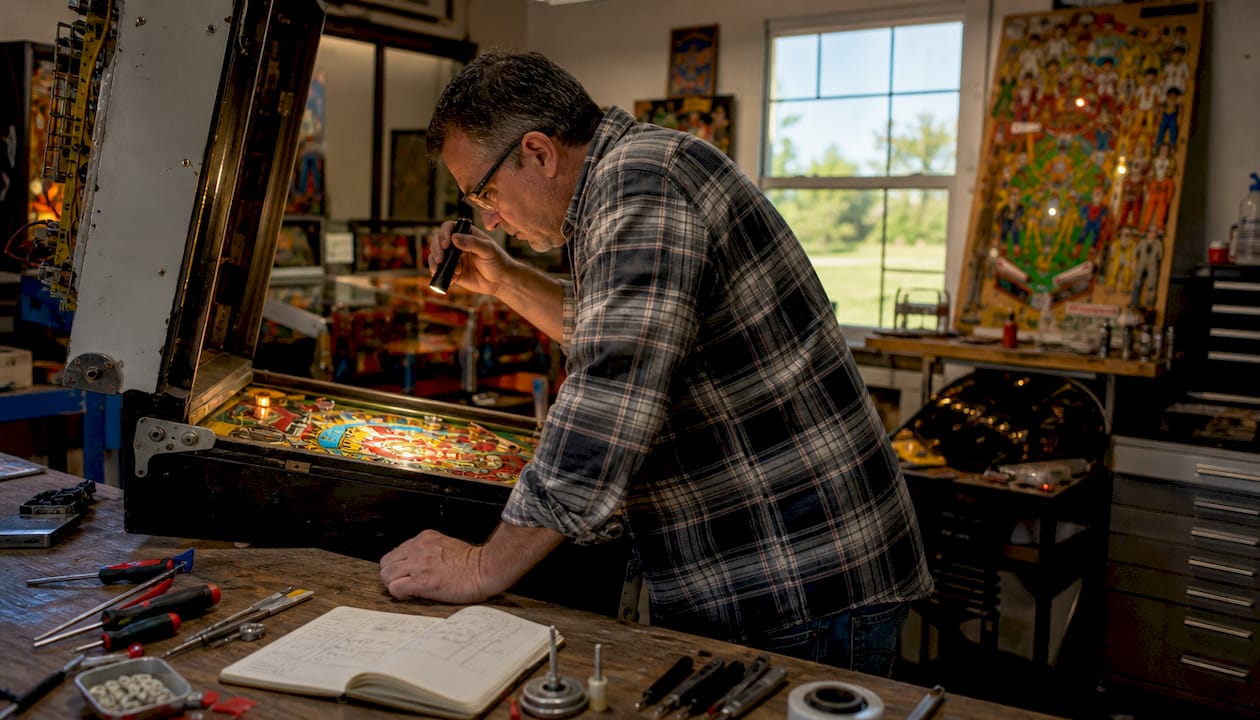
Pro Tip: Keep a small flashlight at your machine. Angling light across the playfield at a low angle reveals surface scratches and debris invisible under overhead lighting.
2. Which monthly checklist items prevent deeper issues?
Monthly tasks go beneath the surface, targeting the electronics, wiring, and internal assemblies that weekly checks cannot reach. A proper maintenance schedule treats monthly work as the layer that catches problems before they become failures.
- Deep clean the playfield. Remove all balls and use a dedicated playfield cleaner to wipe down the surface. Follow with a carnauba wax application to protect the clearcoat.
- Clean cabinet interiors and glass. Dust accumulates on boards, connectors, and the underside of the playfield. Use compressed air and a soft brush to clear it.
- Calibrate electronics and displays. Check that all displays read correctly and that sensors register consistently. Intermittent display errors often trace back to loose connectors rather than failed boards.
- Inspect wiring and connectors. Look for frayed insulation, burned connectors, or pins that have backed out of their housings. Catching these early prevents shorts and board damage.
- Test all switches. Use the machine’s built-in switch test mode to identify any switch that fails to register. Log every fault you find.
- Assess rubber rings. Rubber degrades with heat and age. Rings that feel stiff, cracked, or glazed need replacement before they start affecting ball behavior.
Pro Tip: Run the switch test before and after cleaning. Cleaning sometimes dislodges connectors, and catching that immediately saves a frustrating diagnostic session later.
Keeping a maintenance log of every cleaning date, part replaced, and fault found is one of the most underused practices in the hobby. A log cuts diagnostic time dramatically when a problem resurfaces months later.
3. What are the critical yearly overhaul tasks?
Yearly restoration work is where the pinball repair process shifts from maintenance into genuine refurbishment. These tasks restore the machine’s appearance, protect its long-term value, and address the mechanical wear that accumulates despite regular upkeep.
- Playfield refinishing: Strip old wax, clean with a mild cleaner, and apply multiple coats of carnauba wax or a dedicated playfield protector. On heavily worn playfields, a professional clearcoat application preserves artwork that cannot be replaced.
- Full rubber kit replacement: Replace every rubber ring, post sleeve, and bumper ring as a complete set. Mixing old and new rubber creates inconsistent ball behavior.
- Flipper rebuilds: Disassemble each flipper assembly and replace the coil stop, sleeve, link, and spring. Flipper weaknesses trace to worn coil stops and dirty sleeves far more often than to the coil itself.
- Bumper cap and body inspection: Replace cracked or faded bumper caps. Yellowed plastics degrade the visual appeal of a machine that may carry significant collector value.
- Electrical system overhaul: Rebuilding the power supply and checking for heat damage on connectors and rectifiers prevents resets and display errors in older machines. Replacing old batteries is mandatory to avoid board acid damage.
- Cabinet and backglass care: Clean the cabinet exterior with a mild cleaner and touch up any paint chips. Handle backglass with extreme care. Original backglass is irreplaceable on vintage titles, and a crack destroys both aesthetics and resale value.
- Tilt and coin mechanism check: Verify the tilt bob hangs freely and that the coin mechanism accepts and rejects correctly. These components affect both gameplay integrity and commercial viability.
| Yearly Task | Priority | Notes |
|---|---|---|
| Playfield refinishing | High | Protects artwork and clearcoat from further wear |
| Full rubber kit replacement | High | Restores consistent ball behavior across the playfield |
| Flipper rebuild | High | Addresses coil stops, sleeves, and links as a complete unit |
| Power supply overhaul | High | Prevents resets, display errors, and board acid damage |
| Cabinet and backglass care | Medium | Preserves collector appeal and resale value |
4. How to troubleshoot common issues during restoration
Troubleshooting is not a separate phase. It belongs inside your pinball repair guide as an ongoing diagnostic layer that runs parallel to every maintenance tier.
- Weak flippers: Worn coil stops and dirty sleeves cause weak flippers far more often than a failed coil. Rebuild the assembly before ordering a new coil.
- Slow or dead bumpers: Check the bumper switch gap first. A gap that is too wide prevents the switch from triggering. Adjust to the manufacturer’s specification before replacing the coil.
- Intermittent switch faults: Use the switch test matrix in the game’s diagnostic menu. Intermittent faults often trace to a bent switch blade or a connector pin that has backed out slightly.
- Fuse failures: A blown fuse is a symptom, not a cause. Identify the circuit the fuse protects and inspect it for shorts before installing a replacement. Repeated fuse failures on the same circuit indicate a wiring fault.
- Battery corrosion on boards: Remove corroded batteries immediately. Clean affected board traces with isopropyl alcohol and a soft brush. Severe corrosion requires trace repair or board replacement.
Pro Tip: Always photograph the wiring layout before disconnecting any connector. High-resolution photos before disassembly prevent reassembly mistakes that factory manuals often fail to clarify.
Electrical troubleshooting on solid-state machines from the 1980s and 1990s benefits from a dedicated pinball troubleshooting guide that maps common fault codes to their root causes. Knowing the architecture of your specific board generation saves hours of guesswork.
5. What documentation and preservation practices strengthen your checklist?
Documentation is the discipline that separates a one-time repair from a true restoration. It protects the machine’s history and makes every future maintenance session faster and more accurate.
Photogrammetric documentation using high-resolution photos before disassembly is the single most effective practice a restorer can adopt. Factory manuals for machines like the Addams Family or Bally Lost World frequently omit wiring detail that only photographs can capture. Shoot every connector, every wire run, and every assembly from multiple angles before touching a single screw.
“Restoration with a preservation mindset involves cleaning only what is necessary and documenting every change made, so the machine retains its historical integrity and cultural story alongside its playability.” — Illinois Pinball
The preservation versus over-restoration balance is a real tension in vintage pinball machine restoration. Replacing every worn part with new reproduction components can erase the patina and character that collectors prize. The guiding principle is to restore function without erasing history. Replace what fails. Preserve what still works.
Maintenance logging of part replacements, cleaning dates, and faults encountered significantly simplifies future troubleshooting. A log does not need to be elaborate. A dated notebook entry noting what you replaced and why provides enormous value six months later when the same symptom reappears.
Key Takeaways
A complete pinball restoration checklist requires weekly inspections, monthly deep cleaning, and yearly overhauls covering mechanical, electrical, and cosmetic systems to maintain both playability and long-term value.
| Point | Details |
|---|---|
| Structure by frequency | Divide tasks into weekly, monthly, and yearly tiers to address every system at the right interval. |
| Document before disassembly | High-resolution photos prevent reassembly errors that factory manuals frequently fail to cover. |
| Rebuild, don’t just adjust | Weak flippers and slow bumpers require part rebuilds, not simple tweaks, for lasting results. |
| Log every maintenance session | A dated record of replacements and faults cuts future diagnostic time significantly. |
| Preserve, don’t over-restore | Replace what fails and protect what works to retain the machine’s collector appeal and historical character. |
Why I think most hobbyists underestimate the checklist
Most restorers I’ve encountered treat the checklist as a formality. They run through it once, declare the machine restored, and shelve it until something breaks. That approach misses the entire point.
The checklist is not a one-time event. It is a discipline. The machines that hold their value and play beautifully a decade after restoration are the ones whose owners treated maintenance as a recurring practice, not a project with an end date. Patience matters more than skill here. Rushing a yearly overhaul to get the machine back on the floor is how playfields get scratched and backglass gets cracked.
For beginners, I recommend starting with the weekly and monthly tiers before attempting any yearly overhaul work. Build familiarity with your specific machine’s quirks before you disassemble anything. For experienced restorers, the real growth comes from integrating documentation practices. Photographs and logs feel tedious until the day they save you from a three-hour diagnostic session.
The pinball community is also an underused resource. Forums dedicated to specific machine generations carry decades of collective knowledge on board revisions, known fault patterns, and sourcing quality reproduction parts. Tap that knowledge before you spend money on parts you may not need.
— Jim
Premiumpinballs: quality machines worth restoring
Restoration skills are most rewarding when the machine underneath them is worth the effort. Premiumpinballs offers a curated selection of refurbished, used, and new pinball machines, including iconic titles that collectors and hobbyists actively seek out.
Whether you are looking to apply your restoration checklist to a new acquisition or want a professionally refurbished machine that is already at peak condition, Premiumpinballs has options at every level. The advantages of refurbished machines include pre-inspected components, tested electronics, and restored playfields that give you a verified baseline to maintain. Browse the full inventory at Premiumpinballs and find a machine that matches your passion and your space.
FAQ
How often should I follow a full pinball restoration checklist?
Weekly checks take under 30 minutes and should happen every week. Monthly and yearly tasks follow their respective intervals, with yearly overhauls covering playfield refinishing, flipper rebuilds, and electrical system checks.
What causes weak flippers in a pinball machine?
Weak flippers most commonly trace to worn coil stops, dirty sleeves, or worn links rather than a failed coil. A full flipper rebuild addressing all three components is the correct fix.
Do I need to replace all rubber rings at once?
Replacing the full rubber kit as a set produces the most consistent ball behavior. Mixing old and new rubber creates uneven rebound characteristics across the playfield.
Why are high-resolution photos important before disassembly?
Factory manuals frequently omit wiring and connector detail. Photographing every assembly before removal prevents reassembly errors and saves significant diagnostic time.
What is the difference between restoration and preservation?
Restoration returns a machine to working condition. Preservation means cleaning only what is necessary and retaining original components where possible to maintain the machine’s historical character and collector value.